Model of workspace (my bedroom)

working out dimensions / scale
Paper
Scale: 1:20


exterior of model

interior of model
Cardboard
Scale: 1:20


exterior of model

close-up of window detailing


close-up of door detailing; interior view of model
Reflection
Both the paper and cardboard have good qualities for model-making. However, I preferred using the cardboard as it was much sturdier, which allowed me to include more interesting details in the model. The paper was a much easier material to cut, and whilst the model stands well on its own, the delicateness of the material would (I assume) make it harder to expand the design.
------------------
Folding techniques activity
Basic Concepts - Dividing the Paper
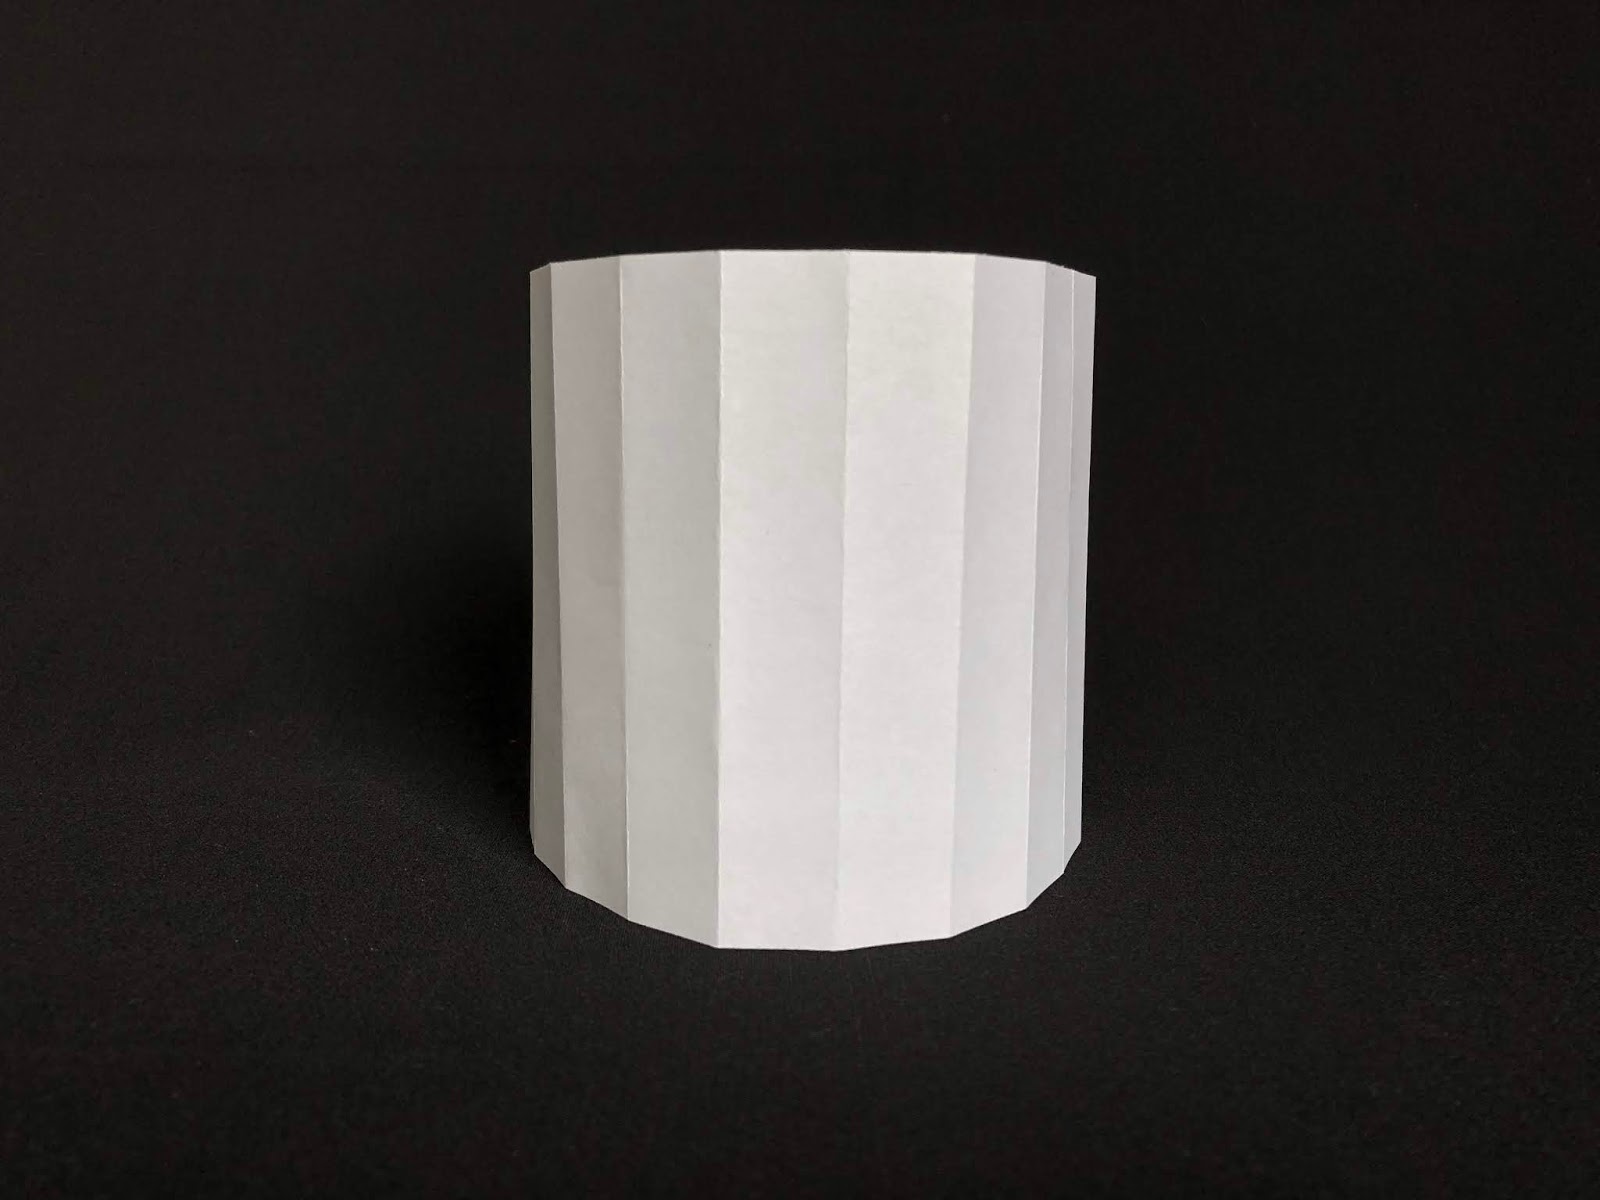


dividing into 1/16ths
Basic Pleats


rotational accordion
Other Pleats - Simple Spirals


spirals
V-Pleats


'v' pleats
Spans and Parabolas


x-form span
Boxes and Bowls - Masu Box


masu box
One Crease, No Crease


the 'break'
Crumpling


basic technique with ribs
------------------
"Dream Bedroom" Activity
Materials: paper, toothpick
Scale: 1:50


exterior


interior (LEFT: normal; RIGHT: added lighting)
opening the model to see inside


interior (without roof)

interior (without roof; added lighting)
------------------
Fusion 360 Activity
Version 1
For my Fusion 360 model I chose to use the scale 1:50. This version of the model includes cavities in the walls for where the doors are located.


front and left planes


back and right planes

bottom / top plane


3D form
Version 2
Including the doorways meant that there would be some extremely thin pieces of timber needing to be cut - which would be very delicate to put together (and may have even been too thin for the laser to cut anyway). I decided to remove the doorways to allow for a sturdier structure. However, when I moved the template into Illustrator, I realised that the 1:50 scale might be too large, as the pieces were very close together.

version 2 template in Illustrator
Version 3
I decided to remake the model at a new, 1:80 scale to ensure that all the pieces would fit on the laser board, and have enough room in between them.


front and left planes


back and right planes


bottom / top plane and template


3D form

version 3 template in Illustrator


